
1. Prepare the Clay
- Knead the clay to remove air bubbles and achieve a smooth consistency.
- Mix in a small amount of sand (optional) to reduce cracking during drying.
2. Roll Out the Clay
- Flatten the clay using a rolling pin to your desired thickness (typically ½ to ¾ inch).
- Ensure an even surface to prevent warping.
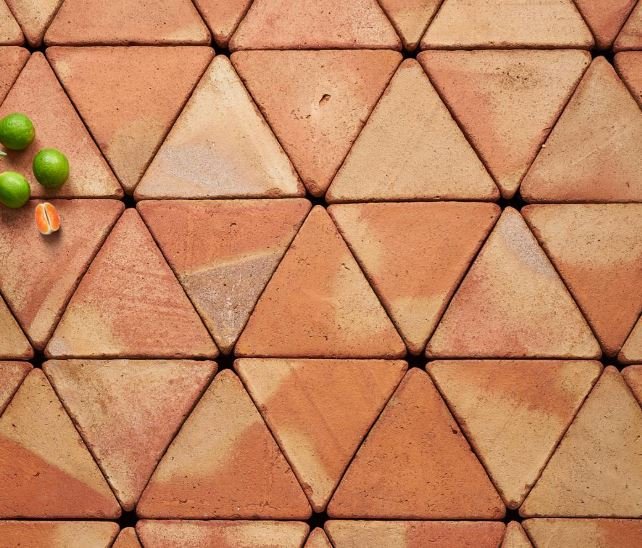
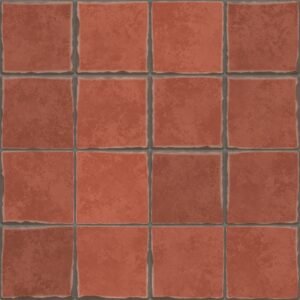
3. Cut the Tiles
- Use a knife or tile cutter to shape your tiles (square, hexagon, or custom designs).
- Smooth the edges with a damp sponge.
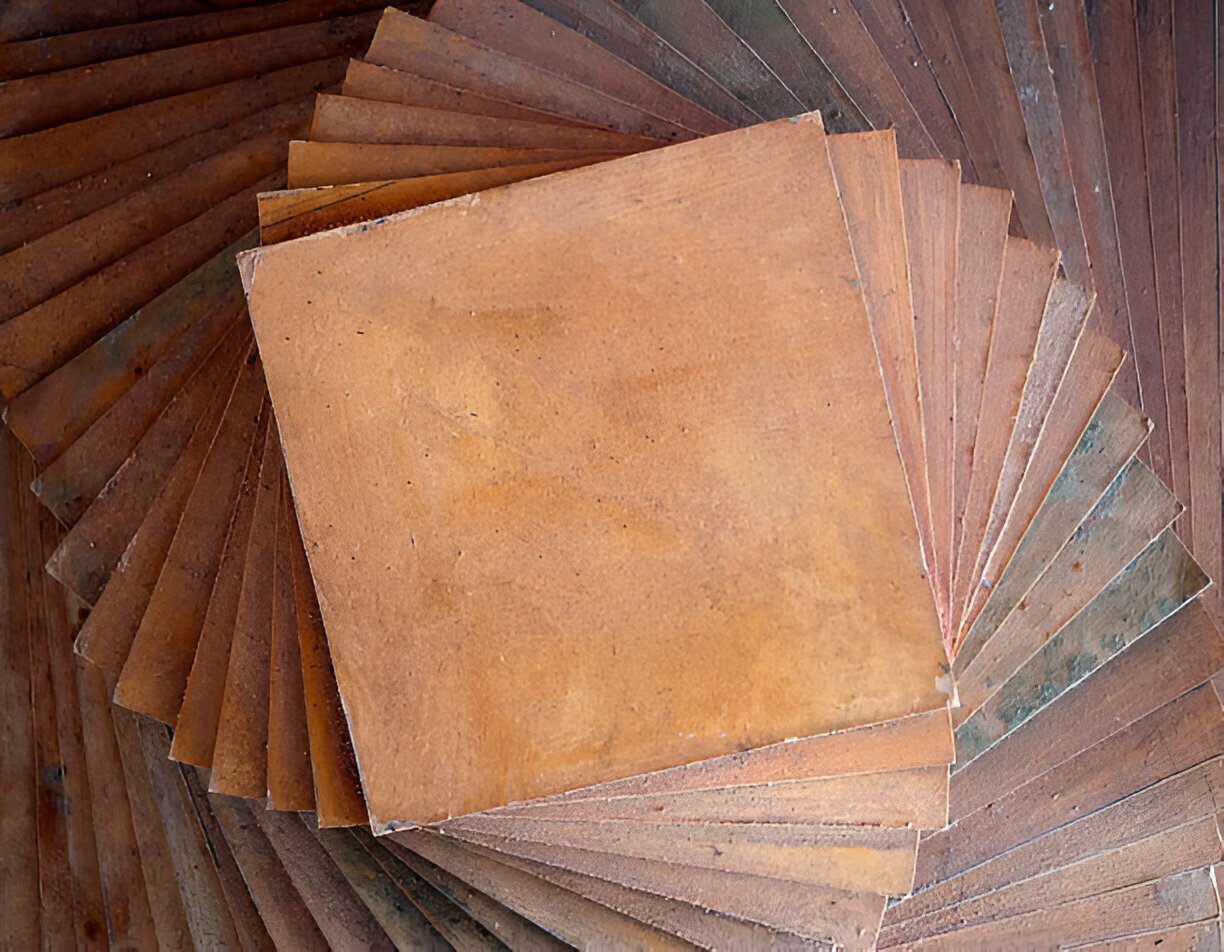
4. Dry the Tiles Slowly
- Place tiles on a flat, dry surface away from direct sunlight to prevent cracking.
- Allow 1-2 weeks for complete drying (time varies based on climate).
5. Fire the Tiles (If Using Traditional Clay)
- Kiln Firing: Best for durability. Fire at around 1830°F (1000°C).
- Pit Firing (Alternative): Bury tiles in a sawdust-filled pit and burn for several hours (less consistent but possible for rustic finishes).
6. Seal the Tiles
- Apply a terracotta sealant to protect against moisture and stains.
- For outdoor use, choose a waterproof sealer.
 using WordPress and
No responses yet